Bridge >> Hatchway Project Description
Progress on this endeavor could only be accomplished with a collaborative effort involving many
innovative products, companies and individuals. To find out more about these companies and products,
select any one of the company links below.
Sponsors For This Project: MAS Epoxies
Lay-out of Hatch-way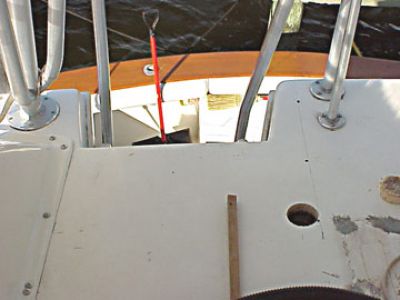
|
This photo clearly shows the original notch and it also shows how ridiculously narrow the ladder rails were. The new hatchway is drawn out for initial cuts and hole is already drilled. |
| The original "notch" entry to the bridge and the first hole drilled to facilitate using saw and begin making hatch-way to bridge. |
First Hole Drilled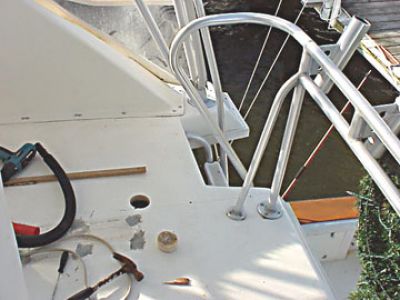
|
Preliminary Cut Out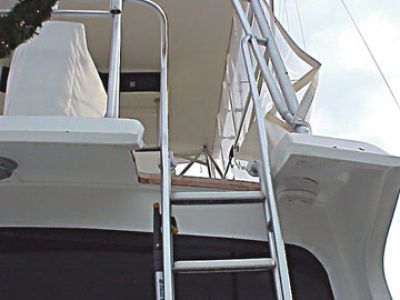
|
The first try at hatch-way cut out. |
| This photo shows cutting of hatch-way including core and inner shell. |
Inner Shell and Core Cut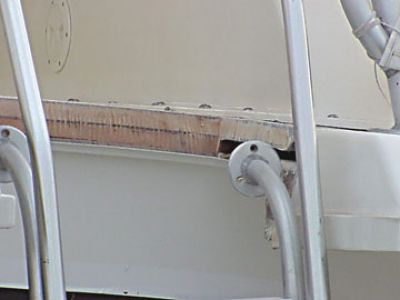
|
Molding Hatch
|
The area here was waxed before making this sandwich using MAS EPOXY: a layer of 24 oz. glass, a layer of matt, a 1/4" marine plywood layer, another layer of matt, and finally one more layer of glass. A waxed piece of acrylic was then placed on top and a piece of starboard was clamped over the whole area. |
| This is the resulting part after being popped from the wax. |
Hatch Connector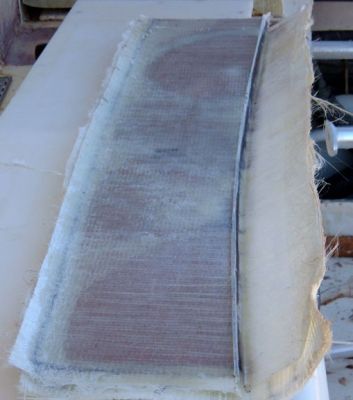
|
PVC In Place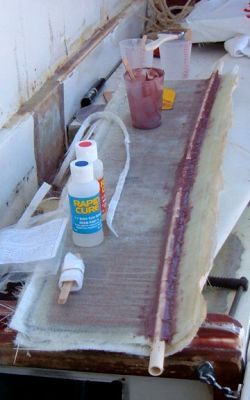
|
A small piece of PVC pipe was put into place with MAS quick cure and then faired using MAS epoxy and silica. This tube will carry water lines for the MISTERS across the hatch opening. Now the part must be fitted to the opening and trimed before being epoxied into place. |
| Connector part in place and waiting to be trimmed. |
Connector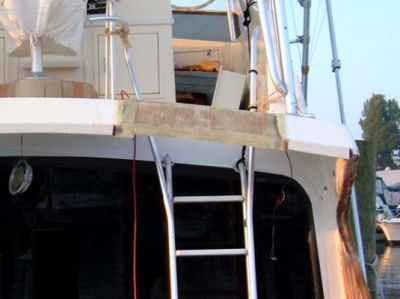
|
No Back Cracker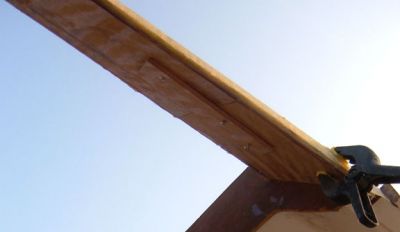
|
We added an interior plate on the inside of the opening. The strip is just for gluing purposes. We added this because without it- a worker's back could hit sharp areas. With a smooth flat surface, as this will be when finished, when any anatomy comes in contact with it, there will not be a problem. In fact, you will be able to stand on the steps and rest with your back on this surface. I have seen many builders who do not angle this area, which leaves an edge to hurt your back. Not on this boat! |
| A view of the starboard side of the opening. We also plan to have an acrylic hatch. The hatch will keep the cool Dometic air in and also make the bridge quiet. |
Hatchway View 2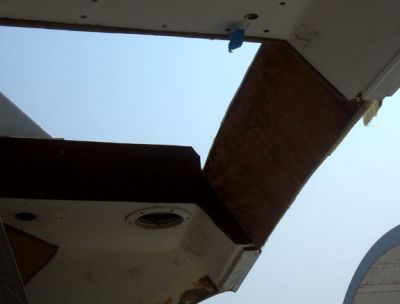
|
Hatchway View 1
|
Closing in the side of the hatch with marine plywood. This will be glassed over and finished. |
| A piece of 1/2" core-cell foam has been epoxied into place for trim of hatchway. This will be faired out to shape and then glassed over. |
Hatchway Trim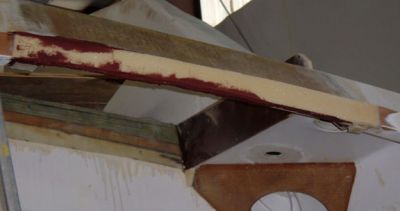
|
Completed Cut & Paste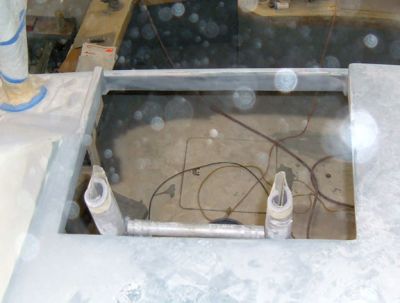
|
The hatch-way work has been completed and Wes has it faired in and mostly primed. We can't wait to see the new ladder from GulfStream. |
| This is the final hatchway. We intend to install a clear cover that will help with air-conditioning and make the bridge more quiet. |
Hatchway Trim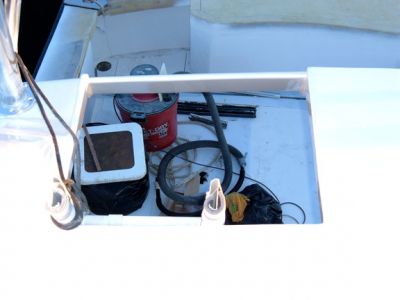
|
|