Deck Tabs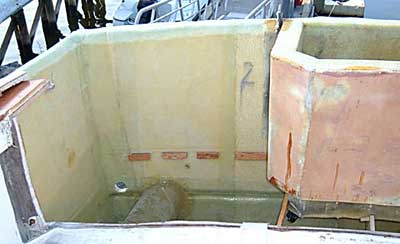
|
The new deck will be foam cored. Lines conforming to the current deck, minus the thickness of the core, were drawn on the new part. Tabs were then screwed and glued in place that will hold the deck. |
| Dave cut the foam to shape and then two layers of glass were applied with MAS Epoxy to the back side. Lines were drawn on the foam to show the hatch, where the side will meet, and where the corner section will be placed. |
Foam Panel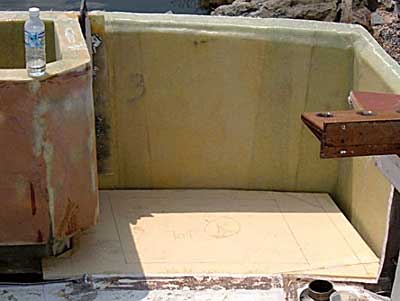
|
Deck In Place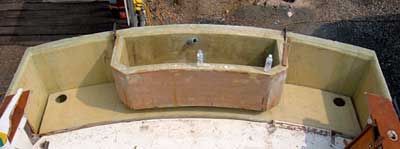
|
Holes were cut for the drains and then the foam panels were glued in place. Two layers of glass have now been bonded to the top side. Before more glass is applied, several steps need to be taken. The hatches will be cut out and support and drains for those will be configured. A wood panel will be placed on the side to which the fiberglass will be formed. The aft edge will incorporate the transom. Approximately 9" in the corner will be reinforced and used for the cleat to be mounted. |
| A piece of inexpensive 1" insulation foam was used to create the hatch drains. The foam was cut to the size of the hatch and 3/4" PVC pipe was taped to the underside perimeter with Tyvek tape. The tape and the pipe will form the troft. The tape also extented onto the foam approximately 1" for a flat surface to support the hatch. The 1" sides of the foam form the area that will be bonded into the hatch opening. A 90 degree elbow was placed in the aft, outside corner and molded-in for the drain. |
Drain & Hatch Support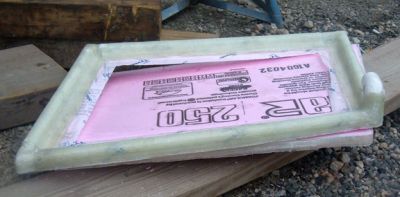
|
Cutting the Part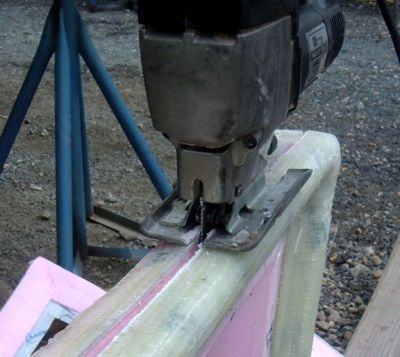
|
The part was cut allowing for bonding to the hatch opening and about 1/4" clearance to the hatch. |
| The part was then removed from the foam. |
Spliting Foam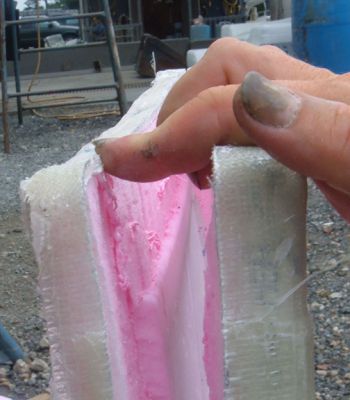
|
Hatch Drain Part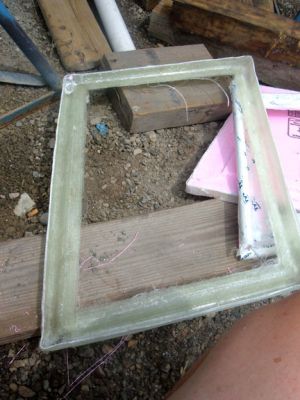
|
Here is the part ready to be installed. |
| The part is now glassed in with epoxy and glass from the top of the opening and into the troft. The part is also glassed with tabs from the underside. If I were to do this part again, I would have made it heavier from the start. Since I did not, I reinforced it with more tabs from the underside. |
Hatch Drain Placed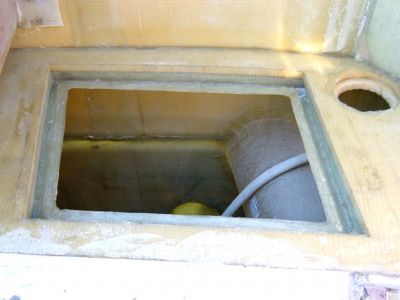
|
Old Hatch Removed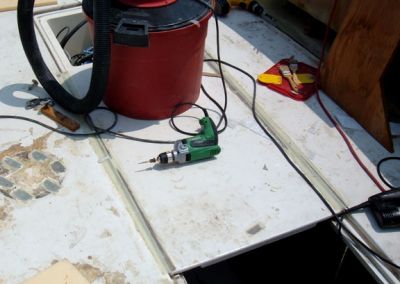
|
Because of the boat extension, the fighting chair plate will need to be moved aft, on the existing center hatch. For this reason we chose to glass in this hatch and reinforce it for the deck plate. The existing deck plate was removed and the holes were glassed over. |
| Dave is getting his dremmel tool ready to cut out the area for hatch pulls. |
Installing Hatch Pulls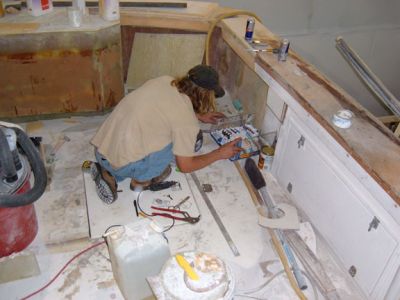
|
Bridge View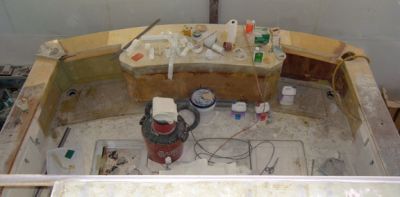
|
Yes, it is a mess now, but you can see how much larger it is. The captain could hardly see the old cockpit. |
| With the original center hatch eliminated, the newly installed hatch and deck have all been painted with non-skid paint. It's very dirty in this picture because water is not available on the pier during the winter. We are going to install hinges on the remaining original hatches and the new aft hatches will just sit in place. |
Newly Decked Out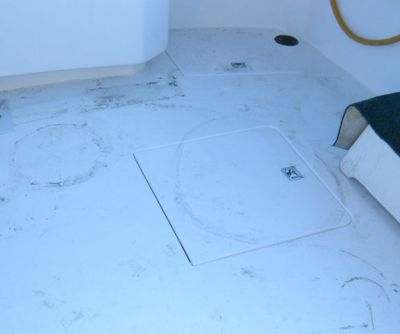
|
Hatches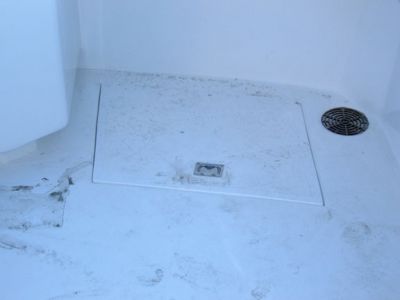
|
Here is the newly installed hatch with new handles. We put the same handles on the original hatches as well. We need to install a gasket on the inside so water does not over-run into the bilge. |