home    
  about us  
  projects  
   journeys   
 sponsors 
past projects
recipes from the galley
  contact us  


Slideshows
boat interior
boat exterior
HVAC system

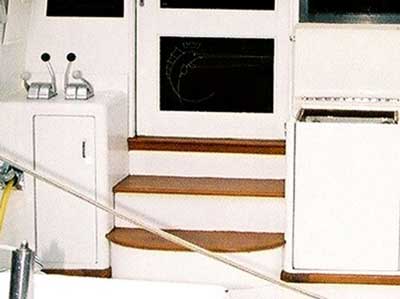
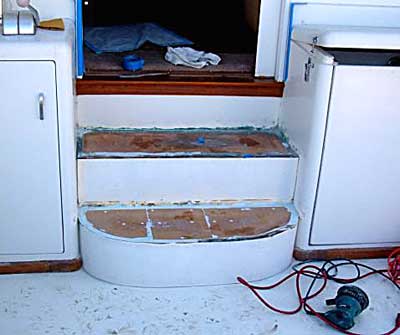
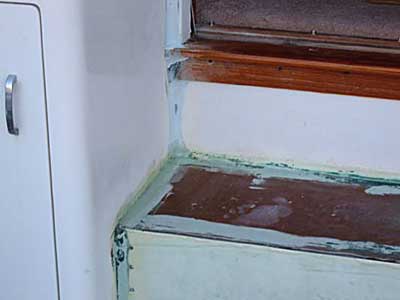
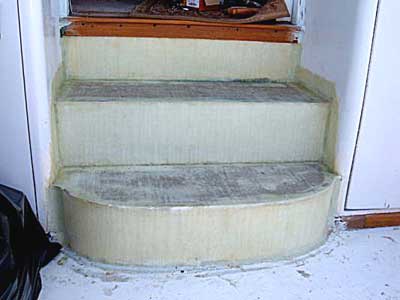
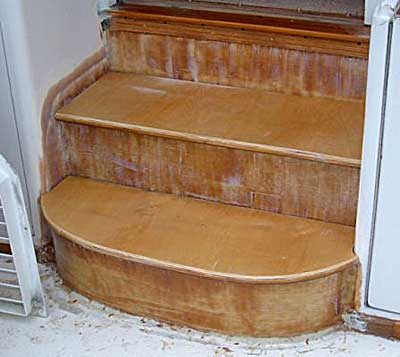
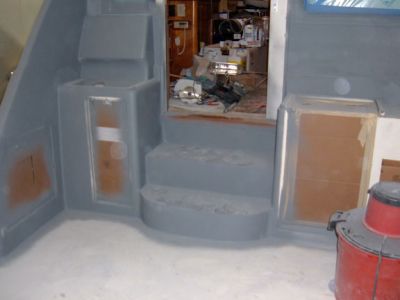
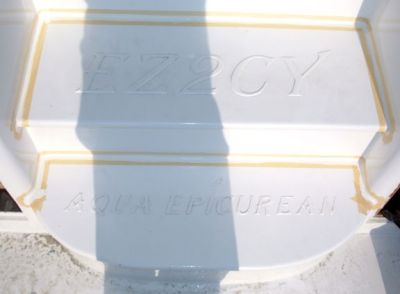
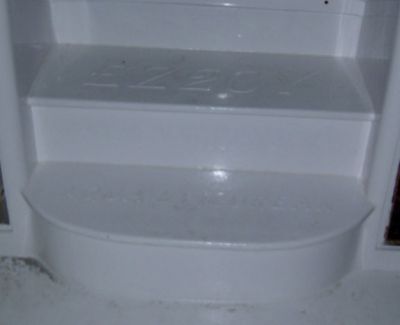
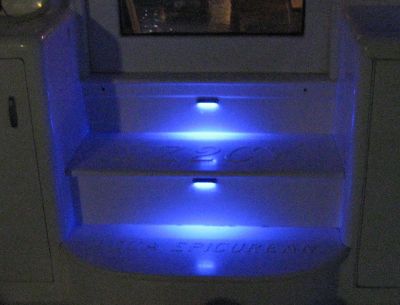
Hull & Deck >> Steps Project Description

Progress on this endeavor could only be accomplished with a collaborative effort involving many innovative products, companies and individuals. To find out more about these companies and products, select any one of the company links below.

Sponsors For This Project: Imtra Marine Products | MAS Epoxies

Teak Salon Steps

Under these teak steps is a cabinet located in the engine-room. The risers and small framework holds the teak. The expansion and contraction of the teak led to leaking that left the cabinet filled with water. Go Figure! In addition, the steps sloped toward the salon and pocketed more than 3/8" of water. Nothing on a boat should pocket water!
Unfortunately I forgot to take a photo of the steps first removed. You would have been able to see into the engine-room. Before removing the teak steps I flooded them with water and marked the water line. I then raised the line 1/4" on the forward edge to make water drain. This photo shows mdo plywood cut to shape and inlaid to that line for the new "step" to be mounted on. Fiberglass was laid over wood to seal it up so water can no longer enter the engine-room.

Sealed Steps

Filling Sharp Edges

During this process any sharp corners were filled and radiused. The bottom riser had met the deck with an abrupt edge. This edge was radiused as well. The teak trim bordering the deck will be treated in the same manner on both the top and bottom then glassed over.
Another view of the step work.

Sealing Step Area

Glassed Steps

I glassed the risers and a few inches up each side of the steps. More glass was also put on the steps. These steps will no longer leak. The risers and few inches of the side of the steps will now need to be faired-in with compound.
This photo shows the new treads during the final fitting. I added a bull nose and a layer of MAS Epoxy and glass cloth. Now that the steps have been fitted, they will be removed. I'll be adding the boat's name in raised letters on the steps.

Steps with Bull Nose

Name On Step

Here is the step with the name stenciled with epoxy.
The second step is stenciled but I need to use a dremel to fix the letters. I lost the small parts of the stecil for the inside of the letters!

Dremel Work

Step Name

We stenciled the name on the step with epoxy. Art Display Company made the stencil for us. The top step will have EZ2CY on it. We will tape off a 1 1/4" border around three sides, leaving the front not taped. We will then use white truck liner spray to coat with non-skid. The board with name will then be glued/epoxied in place and faired into the step area so it can be painted with the rest of the boat.
Here is the top step to the salon painted with white non-skid truck liner. The step will be epoxied into place after the boat is painted.

Non-Skid Truck Liner

Aqua Epicurean

While it may be difficult to see in this photo, but the bottom step has raised letters, "AQUA EPICUREAN" and has been painted with the truck liner.
Wes has faired and primed the step area. The treads are in the process of being painted and will be glued into place after the boat has been painted.

Step Area

Steps In Place

The steps are epoxied in place and the seam has been caulked.
The steps have been completed and the only thing left to do is install the Imtra step lights.

Completed Steps

Cool Lights

These polished stainless steel led lights from Imtra are a clean look and easy install. The blue light emits from the lower edge and onto the step below.
The same lights were used for the ladder steps with the light being mounted on the back side of every other step. It gives a really cool effect lighting the step below. At first glance you do not know where the light is coming from.

Ghost Lights

Copyright 2024
Aqua Epicurean
Promotions, LLC
All rights reserved.
Website Design